
Instructions and care of your forstner band
Using your Forstner Flat Link
The Forstner Flat Link bracelet is similar in construction to the "standard" bracelet that comes with the Omega Speedmaster, and can be worn and adjusted in the same manner. Below are instructions for using and sizing the bracelet.
- Attaching End Links
The end links of the Forstner Flat Link are not attached to the bracelet at the time of purchase. This is to make it possible to use multiple different end link sizes without having to purchase more than one bracelet (so, for example, a person could use one bracelet on both the Omega Speedmaster Professional and the First Omega in Space).
To attach the end link to the bracelet, line up the end link to the last link on the bracelet, and slide the supplied spring bar through the hole. Doing so will secure the end link to the bracelet itself. Be careful to not let the spring bar fall out before you attach to the case, as the end piece likewise would fall off.
- Attaching to Watch Case
Once the end links are secured to the bracelet, the bracelet attaches to the watch just like any other strap or bracelet. Align the end piece into the watch lugs, and compress the spring bars inward until they "click" into the watch's lug holes. Because the tolerance and fit is tight between the end piece and watch case, you may have to press the end piece toward the case until the end clicks in.
- Removing Bracelet Links
The Forstner Flat Link utilizes a common type of screw-link system for band resizing -- it can be found, for example, on certain OEM Omega bracelets and bracelets from other well-known manufacturers.
The screw system is self-containing, meaning that the screw does not secure into the link itself -- there is a small screw that is secured into a tube that goes through the length of the link. This type of screw system ensures that the screw will not become loose due to the natural rotation of the watch links, as the screw is completely independent from the links.
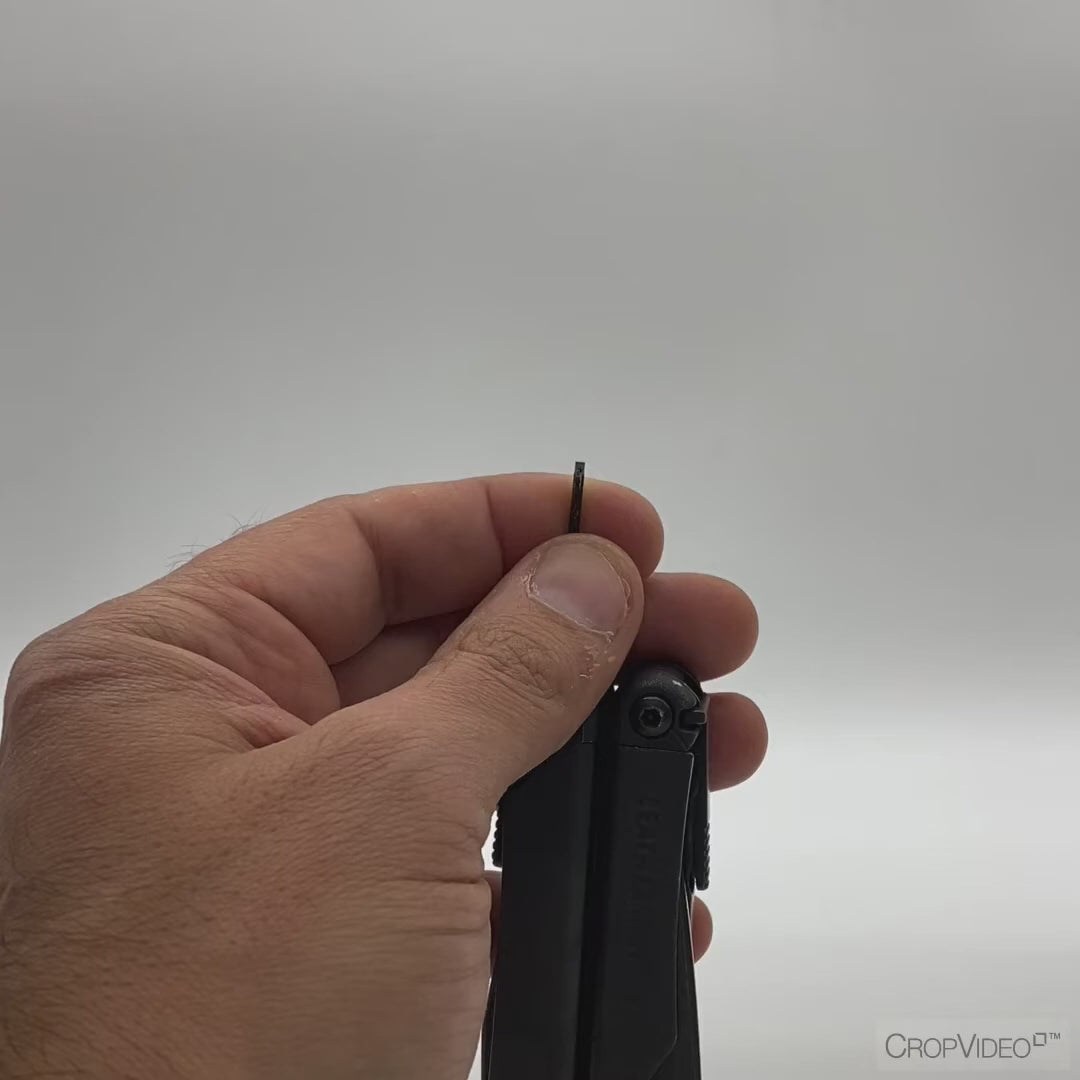
To remove a link, secure the screw on one side to stop it from moving (for best results, use a mini screwdriver, but many common household items can serve this purpose), and unscrew the other end. You'll notice a small screw start to emerge from the link. Once it's out, put it somewhere where you won't lose it, and push out the tube end (something like a toothpick can push it out). Then, the links will separate. Remove as many links as necessary for comfort, and repeat the process in reverse to screw the links back together. The easiest way to screw it back together is to secure the small screw in the link while you screw the tube into the small screw (less fiddling with the small screw).
To avoid scratching the bracelet during link adjustment, put a piece of tape on the side of the bracelet - the mini screwdriver will pierce the tape to enter the slat in the screw, but if you slip, the screwdriver should not directly contact the bracelet itself.
- Clasp Adjustment:
The Flat Link clasp is of a style that will be familiar to many. There are small pin-holes along the length of the side of the clasp. To use the micro adjustment, push in the pins on the back side of the clasp and move forward until you reach the proper fit.
For any question, please do not hesitate to contact support@forstnerbands.co.uk
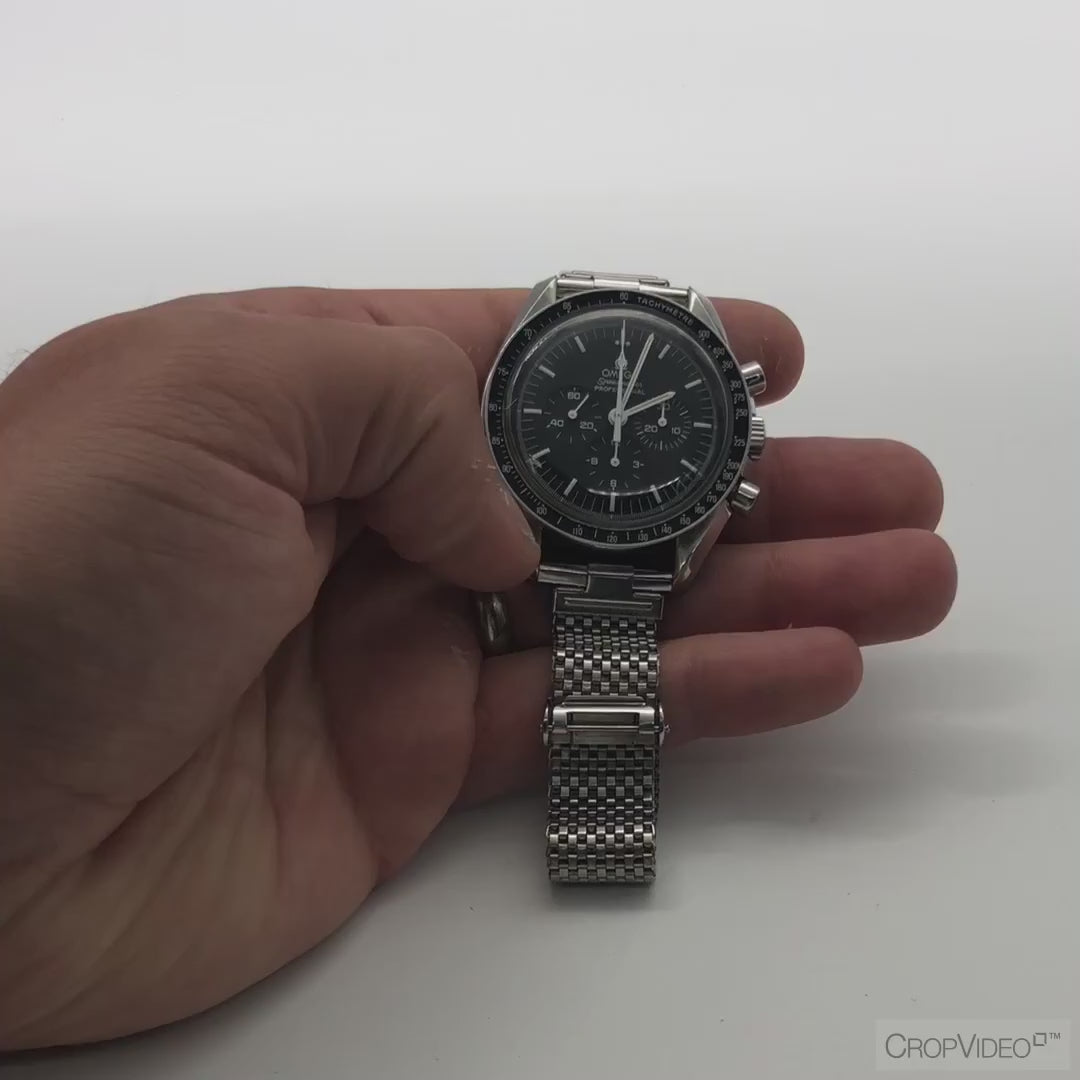
Tips for Using your Forstner Komfit JB Mesh:
The Forstner Komfit band is very simple to attach to your watch, adjust fit, and wear. However, we understand that it may be a bit unfamiliar to some (particularly since it has not been in production for many years!). Here are some tips for adjusting and wearing your watch band.
- Attaching to the Watch Case:
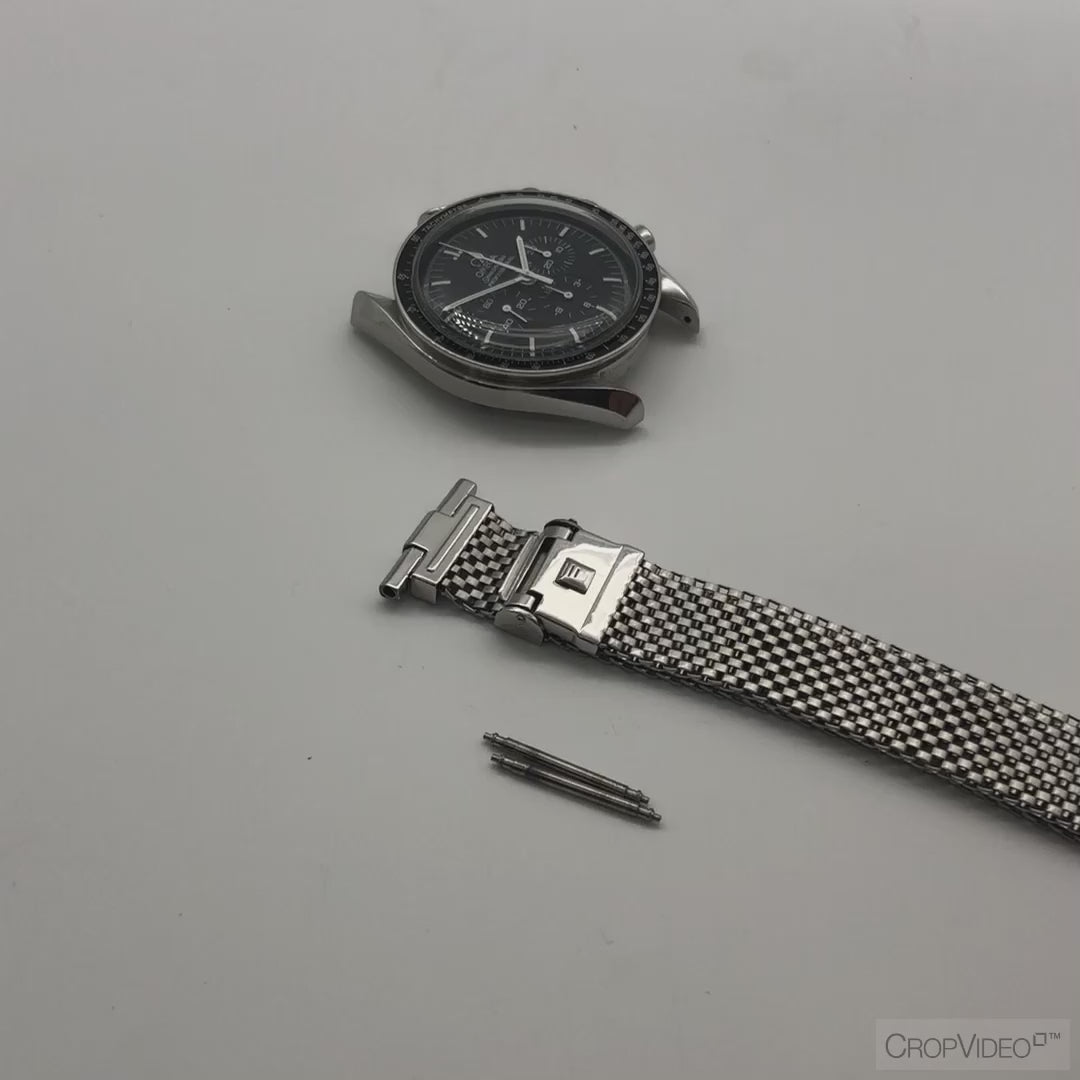
The Komfit band attaches to the watch case just like most other straps and bracelets. Put the spring bar through the end piece, and compress the spring bar to attach to the lugs, like so:
- Adjusting Length/Fit:
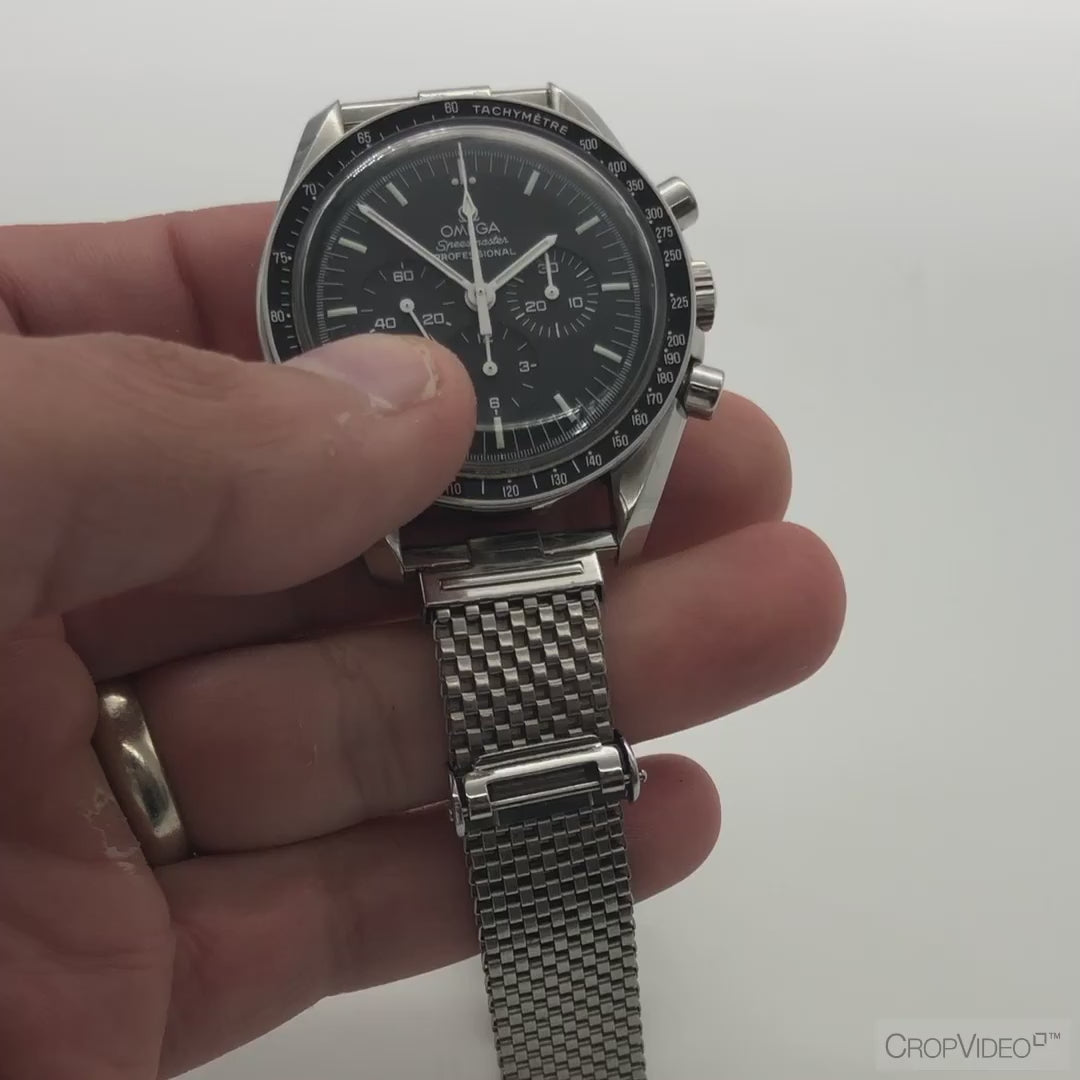
The Komfit band is known for its comfort, which has a lot to do with its adjustment mechanism. It's very simple - there's a small movable buckle affixed to the mesh portion of the bracelet, which the clasp attaches to when the watch is worn. To adjust the movable buckle, simply flick up the small "lip" that touches the mesh, to make the band fit tighter or looser, as so:
- Using the clasp:
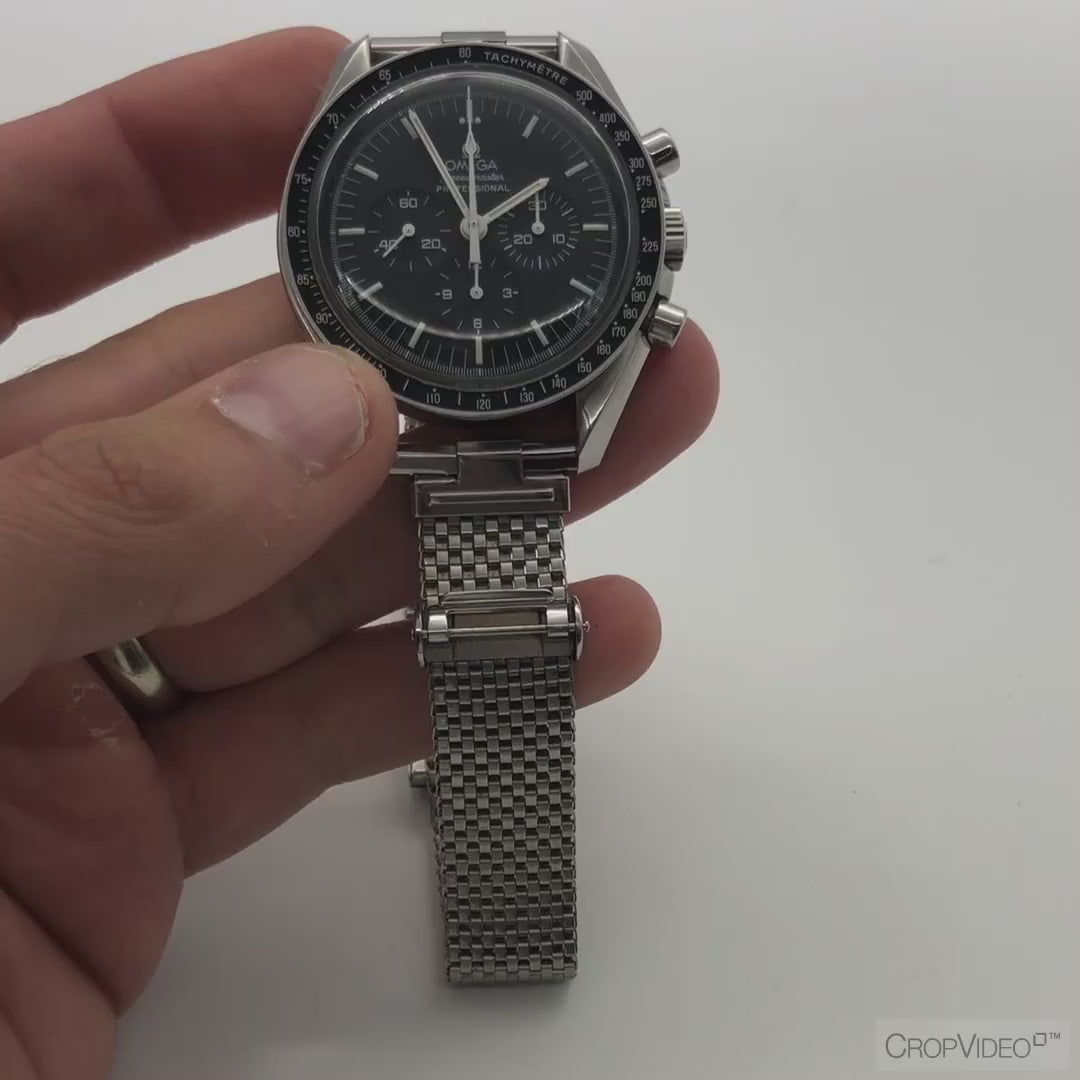
The clasp of the Komfit band is the square polished portion with a small internal square tab. As discussed above, the clasp attaches to the movable buckle to secure the band to the wrist.
To attach the clasp to the buckle, line up the small "teeth" on the underside of the clasp with the straight bar visible on the buckle, and push down (for best results, push down at a slight angle from above the buckle). To release the clasp from the buckle, press down on the small tab. This is shown in the following video:
- Putting it on:
Putting on the Komfit band is very simple, but there are a few tricks that will make it even easier. As shown in the below video, pull the clasp end of the band back to tighten the band on your wrist. Use your finger to hold the tightened end in place while you wrap the clasp end around your wrist and fasten it to the buckle. This will ensure that the band does not loosen while you are attempting to fasten it. For best results, push the watch forward to the front of your wrist -- that'll give you the best angle to work with:
Applying the Internal Lug Protectors:
Each JB Band is supplied with a strip of 1/8 inch polyimide "dots," which help ensure the ends of the bracelet do not directly contact the internal portion of your watch's lugs. For best results, peel off a single dot and apply it centrally over a lug hole with a pair of tweezers. Press down with your finger to secure it on the lug. With a safety pin or other pointy object, make a hole in the dot into the lug hole. Then, attach your bracelet as usual. If you need more of these dots, you can purchase a very large number of them inexpensively, for example here or here. Another type of dot that works for this purpose are "Zots" 1/8 inch clear adhesive dots, which can be purchased here.

Caring for Your Komfit "JB" Band:
You should feel comfortable wearing your JB band on a daily basis, and using it for pretty much any activity for which you would wear your Omega Speedmaster. But it's not a good idea to wear the band in some circumstances, and reasonable care should be exercised when using it. For example, because the band has some "play" between the mesh links (you will notice how the mesh can expand and contract), a violent movement or twisting could cause breakage. Avoid intense or violent activities with the band, such as (and we are half joking here because, come on, you wouldn't ever do these things while wearing your watch in the first place): boxing, jackhammering, playing tug of war with the band, twisting the band around like a wet towel, stepping or sitting on the band, etc. You get the idea - it's a beautiful object, and it'll work fine if you don't abuse it.
Installing the Milled Clasp
Swapping your original Forstner clasp with the push-button clasp is a straightforward process, but here are some tips to help it go smoothly. If you are unsure whether you can successfully install the clasp yourself, or if you have not successfully done this before, we highly recommend that you enlist the help of a jeweller.
First, unscrew the sizing tool provided with the milled clasp so that the front end of the clasp (the end where the clasp secures shut) can fit within the tool.
Second, undo the clasp, and find the clasp pin (it is at the very end of the clasp, at the point where the clasp meets the bracelet).
Then, place the bracelet onto the tool. IMPORTANT: the tip of the removal tool should face the right side of the bracelet clasp pin when the clasp logo is facing up.
The opposite side of the bracelet clasp pin should align with the gap in the bracelet removal tool. Here's a photo for reference:
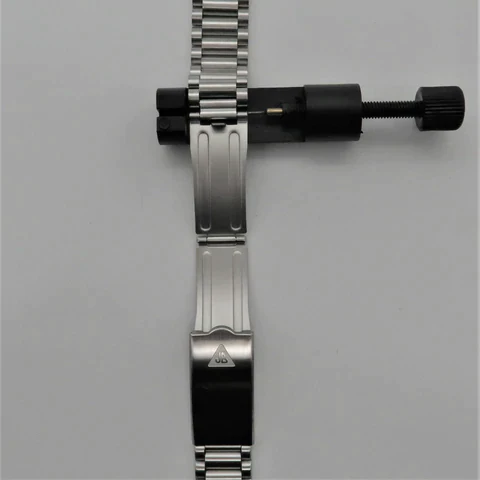
Third, ensuring that the top of the removal tool is aligned with the clasp pin, start screwing the pin removal tool back in to push the clasp pin out of the bracelet.
There should be a little resistance when pushing the pin out, but do not force if you feel a lot of resistance. If you feel a lot of resistance, the alignment of the tool and pin may be incorrect, or the opposite end of the pin may not be properly aligned with the exit pathway on the tool.
The clasp pin will remove like so:
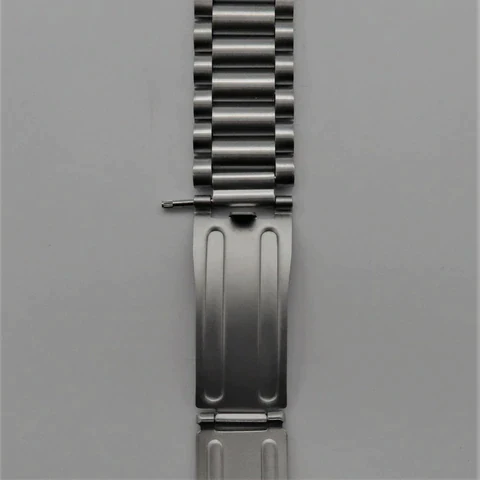
Fourth, pull out the clasp pin and place somewhere safe (the milled clasp comes with an extra pin in the event the first gets lost).
Place your new milled clasp in the spot where the original clasp was, and re-install the clasp pin in the same direction it was removed. The clasp pin removal tool can push the pin back, or you can use a number of other tools to secure the pin in place.
Fifth, carefully remove the spring bar on the back of the original clasp to disengage the opposite side of the bracelet from the original clasp's micro adjustment holes (holding your free hand over the clasp during removal helps ensure the spring bar won't rocket across the room).
Sixth, put the spring bar back in the bracelet, and connect to the micro adjustment holes in the milled clasp.
That's it!